I'm guessing it was 25 years ago that my mom made this "puppet theater" for my little sister.

It hangs in a doorway with a tension rod and that white curtain lifts up so the puppets can poke through.

Not only did my sister and her friends play with this, but it was saved and passed on to my daughters.
This is my little one giving us a "puppet show" (with a dog made from a styrofoam cup) about 1 year ago. (You can see his brothers and sisters waiting for their turn down on the floor. She made a LOT of dog puppets!)

Did you notice in the photo above that there is a green window box under the window?
Notice anything missing?

25 years and no flowers ever grew here. I know my mom intended to sew on buttons to make flowers, but somehow it never got done. I'm guessing as soon as it was "ready enough" it was snatched away for playing and the flowers fell by the wayside.
Last week, Ida posted about some puppets and a theater she was planning to make for her grandson. She and I traded emails and I shared pictures of my theater with her. She managed to get multiple awesome puppets done within a few days, plus the theater. (You can see hers here.) Ida also makes the most beautiful hexagon flowers, using a Wizard of Oz theme. (You can see them on her blog every Wednesday.) These two things inspired me to finally --- 25 years later but not too late --- add some flowers to our little theater.
I made my hexagons in PowerPoint and printed them on cardstock. (I only had 1" templates and those were too big. These are about 1/2".) Unfortunately, I did not take a ton of care in cutting them out so they are a little wonky, but they went together OK. (Please do not look too closely, as you can really see where the hexies don't line up... but I figured wonky flowers were better than no flowers at all!)
There was a lot of fabric wrapped to the back of my hexies, so I ironed a piece of fusible to the back to keep it all in place.

I actually forgot to take out the template in the yellow hexie before I ironed on the fusible, so had to peel it off and do it again. Pretend you don't see that in the photo below, OK?
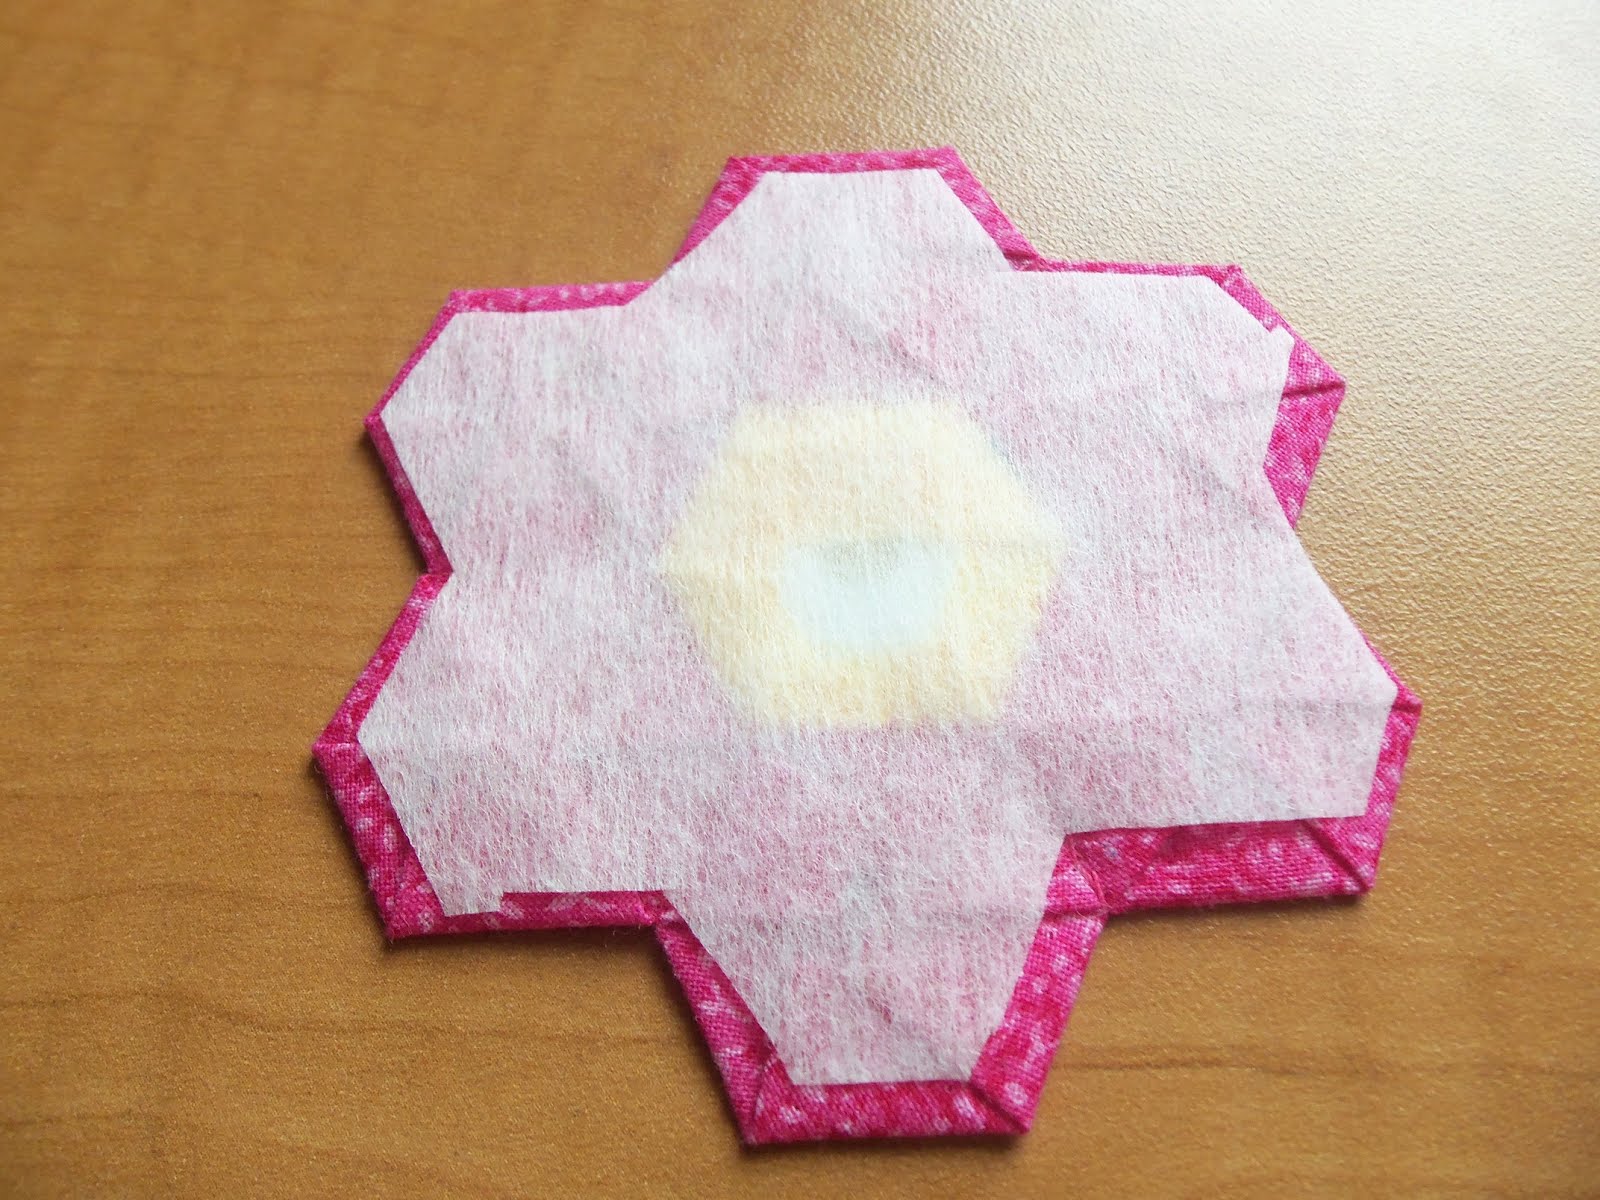
Here's one of my little flowers before I appliqued it on to the theater:

And how the three of them look once attached:

I'm not sure that pink and purple are the best colors to go with the red gingham curtains, but I have little girls who think pink and purple match everything. Did I mention clashing flowers are better than no flowers at all?

Of course, now I'm thinking these little flowers could use some leaves... and the flower box is pretty dark and maybe I could find a way to make it "pop" more without covering it completely.... because 3 little hexie flower to fix a 25-year old non-problem couldn't possibly be enough on its own!
I wish I'd had my camera ready when my kids saw this hanging in the doorway of their playroom WITH flowers. That squealing you heard? It was my kids :-)
~*~ May your day be full of Love and Ladybug Hugs ~*~


