Friday, July 20, 2012

H4P for new baby cousin

My thoughts and prayers are in Aurora, Colorado today.  If you are so inclined, please take a moment to ask God to be with all those who were impacted by this terrible, senseless tragedy.
*******************************

My husband's cousin's wife is at the hospital as I post this, loaded up on Pitocin and waiting for Baby Boy to be born.  I can't wait!  I just barely finished this quilt in time for (1) his arrival and (2) my 3 week "sans sewing machine" vacation (which starts tomorrow). 


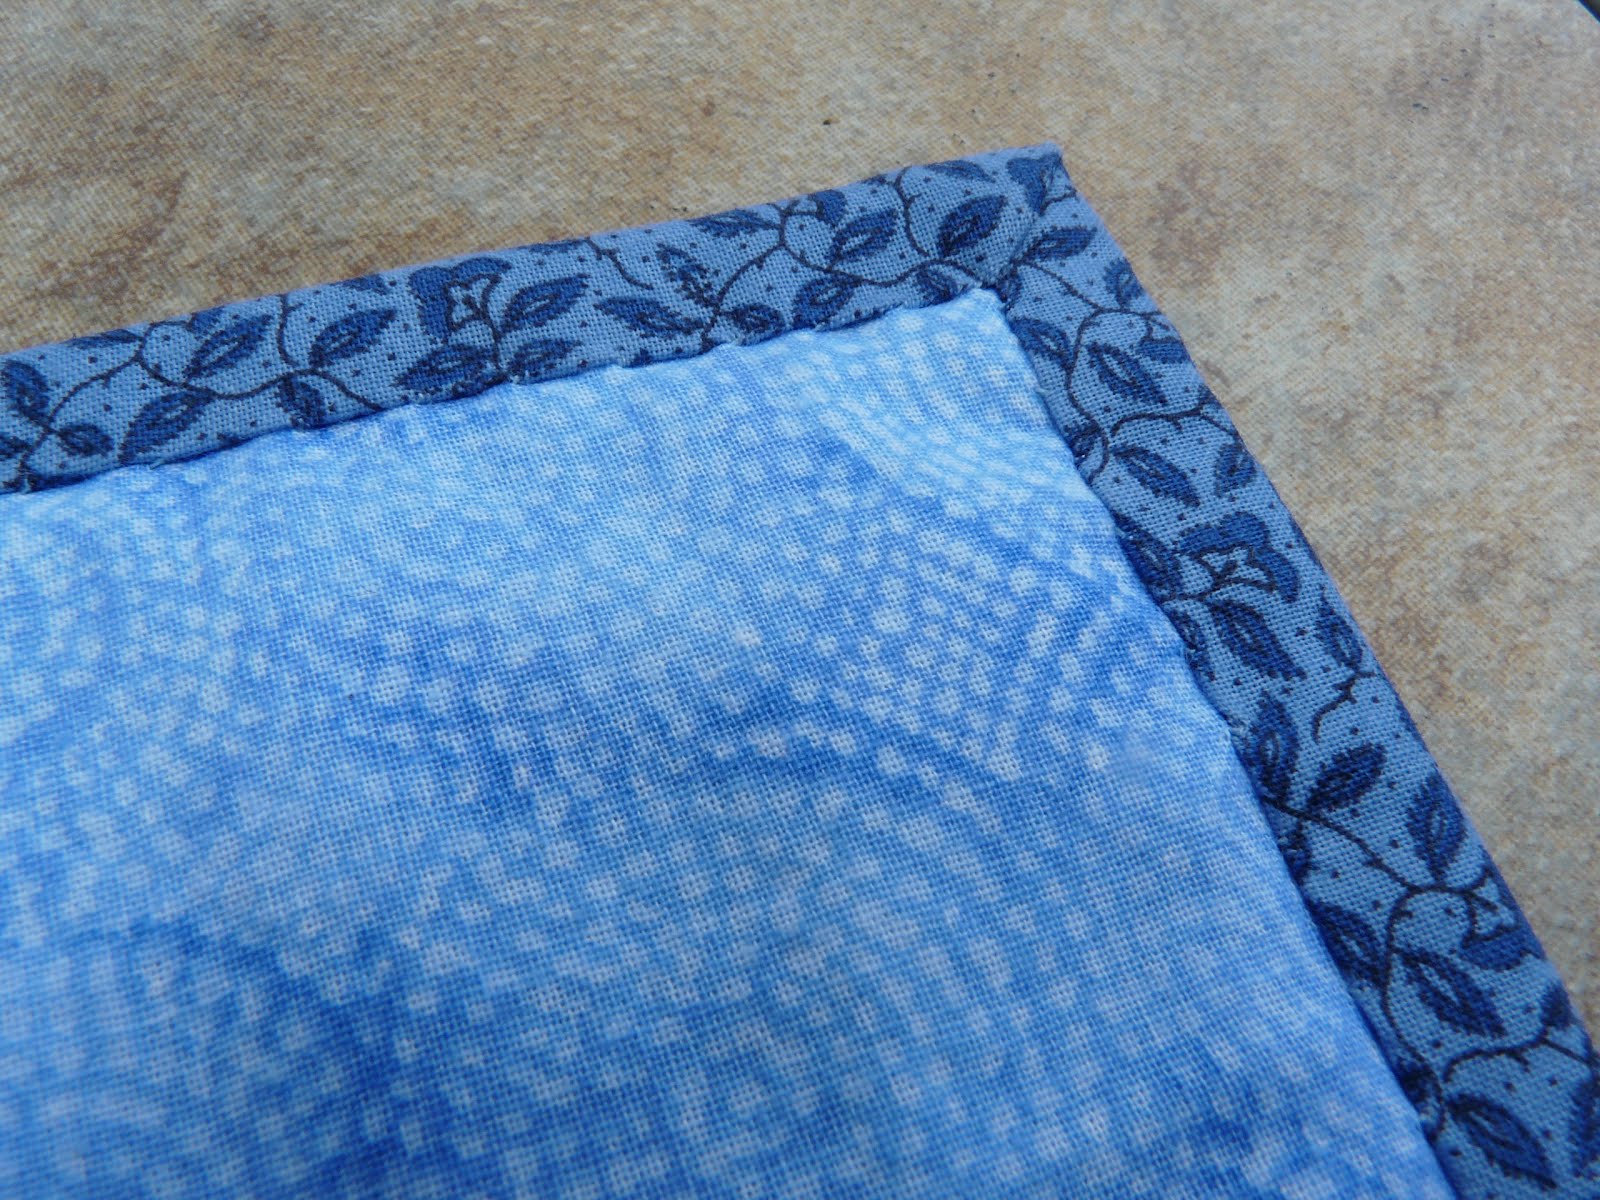
This is a hidden 4 patch pattern and it went together pretty quickly.  I will definitely make this block again, though probably with more colors or prints.


I started with 8" squares (18 blue, 18 print) and cut 2" away from the 4 patch seam lines before reconstucting.  This made a total of 9 blocks, which I arranged in 3 rows of 3 for a 38" (before washing) square quilt.


It was quite windy the day I took this picture.  The force of the wind was holding this quilt up against the fence.  I was happy to have 5 minutes where it wasn't raining, though, so good enough!


I know that Mom and Dad like Winnie the Pooh, so I pulled this fabric from my stash to use on the back.  It was hard to photograph but those Poohs are sort of "embroidered" on to the fabric and there is a texture to it -- both on the little checkered squares and the Pooh Bears.  It is not cotton but it was OK to work with.


Last but not least, the obligatory "folded up quilt" photo.  I didn't realize until just now the little animals are facing away from the camera.  They're still really cute, though, don't you think?


~~~~~~~~~~~~~~~~~~~~~~~~~~~~~~~~~~~~~~
Linking up with: 

Confessions of a Fabric Addict for "Whoop Whoop Friday"
Sew Many Ways for "Find a Friend Friday"
Pieceful Life for "Show Off Friday" 
~~~~~~~~~~~~~~~~~~~~~~~~~~~~~~~~~~~~~~

~*~ May your day be full of Love and Ladybug Hugs ~*~

Thanks for stopping by!
~ Kat ~

Tuesday, July 17, 2012

Crazy!! Hexagon Baby Quilt - Part 2

When I first posted about my plan for this quilt, I called it ambitious.  At that time, I had planned for it to be made up of 371 hexagons -- 1" each.

Then I went on a fabric rampage and decided the background should be green and purple, not just green.  I had to revise the pattern a bit to accommodate the two colors.  I also decided that 7 of those flowers would have dark pink outsides (light pink centers) and 6 would have the coloring shown in the photo below.  

Somewhere in this whole convoluted process, my 371 hexagon pattern became 451.  I've upgraded this from "ambitious" to just plain "CRAZY!!!"


On Saturday I leave for a 3+ week trip to Upstate New York to visit my family.  Unfortunately, my sewing machine will not be making the trip.  I wanted to make sure I had a project to keep me busy.... though I think I might need a 3 year trip to finish all of these.


I couldn't resist making a few flowers, just to see how they'll look.  This quilt will have 6 of the light (above) and 7 of the dark (below).


There are 7 or 8 different purple fabrics in varying shades.  All the greens are the same.  I have a feeling I'll rethink that later, but greens are so hard to match that I couldn't come up with a combination I liked (for the greens).  I'm going to make all the pinks and purples first and then see how I'm feeling about making all the greens from a single fabric.


I'm not sure how I'll end up attaching so many hexies together.  I am thinking I'll break the quilt into 12 or so "sections" and attach them all at the end.  I'm also not sure if I need to baste them to another piece of fabric (that you'll never see) or if I can put the big sheet of hexies right onto the batting.  I (clearly) have plenty of time to figure that out, but if anyone has advice, I'd love to hear it.


What's the craziest project you've ever decided to do?  How did it turn out?


Here's my revised pattern which shows the darker colored flowers.  (The photo at the top of this post still shows them all as light colored flowers.)


~~~~~~~~~~~~~~~~~~~~~~~~~~~~~~~~~~~~~~

~*~ May your day be full of Love and Ladybug Hugs ~*~

Thanks for stopping by!
~ Kat ~

Sunday, July 15, 2012

Behind the Seams - 2nd Generation Log Cabin Quilt


Amanda over at Fabric Engineer has started a new monthly linky party, on the 15th of each month called "Behind the Seams."  The purpose of this linky party is to showcase something sewing related, but not necessarily progress related.  Each month has a different topic and this month's is "the oldest fabric in your stash."  Here's mine, along with the story behind it:


You might have seen my post at the end of May about a puppet theater my mom made (but didn't quite finish) about 25 years ago.  I'm currently working on another one of her "almost done" projects, though this one is only about 13 years old.


My mom started this quilt as a Christmas gift for my husband, before he was my husband.  I don't remember exactly which year, but we've been married 12, so at least that long ago.  My mom made all our clothes growing up but I think she's only done 2 other quilts.  One is hanging on her bedroom wall and the other was for my college dorm room.


Her favorite (only?) block is the traditional log cabin.  She made this set in blues and grays, to mirror the colors of the New York Yankees uniforms (my husband's favorite team).  


I love the way she laid them out, with the darks and lights making diamond patterns.


However, mom doesn't actually "quilt" her quilts.  She ties them (with embroidery floss) in the corners.  I knew that was the case when I found this quilt in her sewing room a few years back, when she decided I'd probably finish it sooner than she would.  Along with the quilt, she gave me a big pile of baseball shaped buttons that I could tie on to add interest to the front of the quilt as well as the 3 pieces of leftover blue print fabric I showed at the top of this post.  


She said she didn't care where this quilt ended up --- at my house, given as a gift, donated to a charity or even at Goodwill --- as long as it was finally finished.


It sat in my craft closet for a very long time before I decided I was going to finally finish this up and give it to my brother, who just got a new apartment.  His birthday is in September, so that's my goal.  


Mom used the "inside out" method (as I call it... it probably has a real name) to attach the front to the back.  She put the right sides of the top and bottom together and sewed around them by machine, leaving an opening for turning.  That's not the method I typically use, but I decided I would work with what she'd already done.  I laid it out to start basting it for quilting, but realized it was a bit lumpy.  After deep deliberation, I decided to turn it inside out, unpick the stitches all the way around, then re-sandwich it the way I normally do, hoping it would lay a little more flat.  It wasn't until I flipped it inside out again that I saw how she had actually constructed it.


When she sewed the layers together, she only attached the front flimsy to the backing fabric.  She did not sew in the batting by machine.  Instead, she had used a whip stitch to attach the batting to the (already attached) front and back pieces.  That's why it was so lumpy... the batting wasn't really attached into the seams of the quilt.

Can you see how the top flimsy and the backing fabric are sewn together, but there are long white hand-sewn whip stitches securing the batting to the rest of the quilt?
T
      

It took a few hours, but I was able to unpick all those stitches - both the whip stitches and the machine stitches.  Now I have 3 separate pieces -- top, back, batting.  The back had already been cut to exactly match the size of the top but I prefer my back to be a tiny bit bigger than the front when I sandwich it all, so I have some wiggle room.  The good news is that when she gave me the quilt, she also gave me that leftover fabric from the log cabin blocks.  The oldest fabric in my stash!  


I'm planning to cut up the back and piece in some strips of the extra prints, just enough to give me a few more inches in each direction on the backing.  I should still have enough left to bind the quilt with one of the prints.


I haven't been working diligently on quilt, but I'm looking forward to getting it done in time for my brother's birthday on September 16.  When I give it to him, it'll truly be a gift from both his mom and his big sister.  Though it took over a decade to complete, I think it adds a really nice touch that I get to finish a quilt my mom started, long before I'd ever touched a sewing machine.


Have you ever finished someone else's forgotten quilt?  I'd love to hear your stories!


~~~~~~~~~~~~~~~~~~~~~~~~~~~~~~~~~~~~~~

~*~ May your day be full of Love and Ladybug Hugs ~*~

Thanks for stopping by!
~ Kat ~


Friday, July 13, 2012

Pura Vida

Before I show you what I have worked on this week....

If you live in the US (and even if you don't), you may have heard about all the fires that are consuming so many of our western states.  Over 800 homes have already been lost in Colorado, Utah, Idaho and Montana.  Julie and her husband have started a wonderful organization called Phoenix Quilts, which is currently accepting donations of quilts, tops, blocks, fabrics, supplies and monetary donations, with a goal of providing at least one quilt to each family who has lost their home to a fire. If you haven't seen her site, please take a moment to go visit her, see how you can help, and leave her some words of encouragement and praise for all her hard work.

This morning I mailed a box off to Julie, which I'm hoping will help out with her efforts.  I included one finished quilt (the "Don't Touch Me" quilt that I showed you here) and a stack of fabric that was taking up space in my stash.  I think it's about 18-20 yards total, so I'm hoping she and her team can use it (or donate it elsewhere if it's not what they are looking for).


Now for this week's project / finish, a pillow I made for my work BFF, Kim.  I've mentioned before that my day job can be very stressful, with long hours and headaches and curve balls when you least expect them.  I do love my job (really, I do!) but in those hours / days when it seems too much, the friends I've made and relationships I've built along the way are what keeps me going.

I "met" Kim last year when we were assigned to a very large, complex project together.  During the stress and long hours we got to know each other better and though we've never met in person (she lives in North Carolina, I'm in Florida), we quickly realized we have a lot in common and became very close friends.  Kim took a (much deserved) vacation to Costa Rica in February and came back with a new motto --- Pura Vida.  Translated literally, this means "Pure Life," and is the Costa Rican way to say, "slow down, enjoy life, don't get so stressed all the time."  I would consider it the equivalent to Jamaica's "don't worry, be happy!"

(Completely random side note... it must be something about the name Kim, because my childhood best friend was Kimmy, and I recently met another Kim (who sews and runs like I do) who I am quite fond of and have much in common with.  Maybe I'm just drawn to other "K" names?)

But anyway... I'd been wanting to try some UnRuly Letters and I knew right away that I'd make Kim a "Pura Vida" pillow.  Took me a while to get to it, but here it is:

Photo taken in bring sunlight, without the pillow form.  This measures 18"x14".

I'm not sure you can really see it here, but the back has an envelope closure, so the pillow can be removed.

I hand stitched the binding to the back, which is something I don't usually do.  I'm really happy with how nicely the corners come out when hand stitched (vs. machine sewn).


The pillow is in it now (obviously) but it was dark and rainy so I had to take this photo inside.  It's actually a better depiction of the true colors of the fabrics.

I quilted wavy lines across the pillow top, which remind me of ocean waves.  I know Kim had a great time out on the water in Costa Rica, so hopefully she'll get the same feeling from this.

I still have work to do to make my letters a bit more unruly, but this was a lot of fun to make and I'm looking forward to my next "letters" project... as well as seeing what y'all have been working on this week.


~~~~~~~~~~~~~~~~~~~~~~~~~~~~~~~~~~~~~~
Linking up with: 

Confessions of a Fabric Addict for "Whoop Whoop Friday"
Sew Many Ways for "Find a Friend Friday"
Pieceful Life for "Show Off Friday" 
~~~~~~~~~~~~~~~~~~~~~~~~~~~~~~~~~~~~~~

~*~ May your day be full of Love and Ladybug Hugs ~*~


Thanks for stopping by!
~ Kat ~

Monday, July 9, 2012

Missing: My Willpower

If you've visited me here before, you might know I made a resolution to not buy any new fabric in 2012, unless it was specifically requested by someone who needed something very specific.  I intended that to apply to charity quilts and special requests only, and even then only if absolutely necessary. 

But then I ran out of batting.  

Already you can see where this is headed, right?

A few days ago I posted about a little hexagon baby quilt I wanted to make.  The pattern I came up with would have a green background and pink flowers -- dark pink centers with light pink petals.  I mentioned in that post the challenge of finding enough coordinating greens in my stash, especially since greens are so hard to match.

So yesterday I was at Joann's to buy batting.  And only batting.  With a 50% off coupon.

On my way to the register, I noticed this sweet little bundle, which had 2 lovely greens (and 3 lovely blues).  It was 30% off.  Did I mention I also had a "20% off your entire purchase" coupon?  


My 9 year old daughter - who knows I'm trying hard not to buy fabric - was with me.  As I was caressing looking at this little bundle, she leaned over and said, "Don't worry Mom, I won't tell anyone.  You deserve it."  I *so* love that kid! 

I knew those 2 little fat quarters wouldn't be enough for my entire background, but I did have some green at home already.  Then I saw one other single FQ in a pretty paisley.  OK, it's just one more, right?


Oh my gosh, they had purple bundles too!  I had toyed with the idea of doing green and purple for the background of the quilt and how sweet are those??  And hey, I don't want to break the fast more than once, so I might as well enjoy it now, right?


Wait, a Fat Eights of pinks?  That would be enough to do *all* the hexie flowers for the quilt.  Lights and darks.  They look so nice with the green and purple, too.  And come on... how often do I find a 30% off sale *and* have a 20% off everything coupon?  


I can probably stop adding commentary now, since you probably realize by now this is not going to end anytime soon....

A few more light pinks for the petals, just in case.

Just to be on the safe side with the darker pink....


What does a beige FQ bundle have to do with the hexagon baby quilt you ask?  Not a thing.  But at this point, I was already so far over the line it didn't seem to matter, really.


One last fun little bundle because, well, it had a ladybug on it.  No other reason is required.


In case you're wondering what a a "Fabric Fast" looks like, well.... here you go.
*sigh*


~*~ May your day be full of Love and Ladybug Hugs ~*~

Thanks for stopping by!
~ Kat ~

Saturday, July 7, 2012

Ambitious!! Hexagon Baby Quilt - Part 1

Over the past few months, I have fallen in love with English paper pieced hexagons.  I have made a few items so far (including this mug rug), but nothing very big.


This summer, I will be in New York visiting my family for 3 weeks and won't have my sewing machine (sniff, sniff!).  I knew I needed a hand sewing project to keep me from going crazy productive, so I decided hexies would be the perfect thing.


I found out that a friend of mine is pregnant with her 2nd child (due in February), so I decided to make her a hexagon baby quilt.  It's too early to know if it's a boy or a girl yet, but I'm going to take my chances on "girl" and start making this:


I only have 1" hexagon templates, so it will take 371 of those little beauties to make what is shown above.  I'm hoping this will be a decent size baby quilt (I haven't done all the math yet to figure out just how big it will be) but if it's too small, I'll add more green around the outside, or maybe a few rows of the light pink to frame it.  I'm planning to bind it in the same dark pink I use for the flower centers.  


As of now, I'll need 13 dark pink centers, 78 light pink petals and (gulp!) 280 greens for the background. I'm planning to use many different green fabrics for the background but I'm using all stash fabric in 2012, so I'll have to see how many I can find in my stash that work together.  Green is so hard to match, but my fingers are crossed. 


Next steps: Fabric selection and cutting.  Lots and lots of cutting!


~*~ May your day be full of Love and Ladybug Hugs ~*~

Thanks for stopping by!
~ Kat ~

Friday, July 6, 2012

A Finish and a Winner

Last week I posted about a pattern I had tested for Amanda called "Don't Touch Me."  Amanda generously offered 1 copy of her pattern to be given away here on my blog.  I received 23 entries and Random.org selected comment #16 as the winner.

Congratulations to Leo on being commenter #16!  I have sent you an email and once you confirm I've got the right address, I'll email that pattern right over to you!

This week I also finished (and mailed!) a colorful quilt I made for my son's friend, Austin.


I shared some WIP pictures a little while back, and mentioned that at the age of only 3, Austin was in the hospital for his 14th surgery.  The poor little guy had a rough time with this one.  He was in the hospital well over a week and had to make some return ER trips.  I'm hoping this quilt reaches him today and that the bright colors and simple shapes will put a big smile on his face.


I made some wonky 9-patch blocks with 3 fabrics each.  I made it up as I went along and was going to do a little tutorial, but then I realized how many of those there are online already, so you probably don't really need another one :-).


For the quilting, I wanted wanted to do something fun, so I did 3 wavy lines through all the red sashing strips, then used a zig-zag around each center 9-patch box, then through the middles (more or less) of the outer boxes.


I tried out some "UnRuly Letters" for his name, though I realize I need to be a bit more "unruly" next time.  These look like they were made to match but aren't quite right.... Next time I definitely want a more "no two are alike and that's the way it's supposed to be" look.


I quilted diagonal lines through the "Austin" section of the quilt, but I didn't use tape or any guides, I just winged it.  Here are a few closer-ups of the quilting:


Question for my quilter friends who do FMQ on a home machine:
My original plan had been to FMQ this.  I've FMQ'd a few quilts and though I know I have a lot to learn, I thought I had the basics down.  I ran into a problem, though, when I tried to do this one.  The first few stitches were OK, then I got a few really long (jumped?) stitches, where it seemed like the top and bottom threads just weren't catching... then a few more good ones, then some more jumps.  That happened even when I was going in a straight line without trying to do any curves.  When I put on my walking foot and stitched with the exact same settings (only change was the foot), it was perfectly fine.  Anyone know why this might be happening or how I could attempt to correct it?  Any and all advice is appreciated!


~~~~~~~~~~~~~~~~~~~~~~~~~~~~~~~~~~~~~~
Linking up with: 

Confessions of a Fabric Addict for "Whoop Whoop Friday"
Sew Many Ways for "Find a Friend Friday"
Pieceful Life for "Show Off Friday" 
~~~~~~~~~~~~~~~~~~~~~~~~~~~~~~~~~~~~~~

~*~ May your day be full of Love and Ladybug Hugs ~*~


Thanks for stopping by!
~ Kat ~